ChatFlow’s Zapier integration allows you to automatically send connection data to Zapier, enabling you to automate workflows and integrate with thousands of other apps.

Step 1: Set Up Zapier Connection
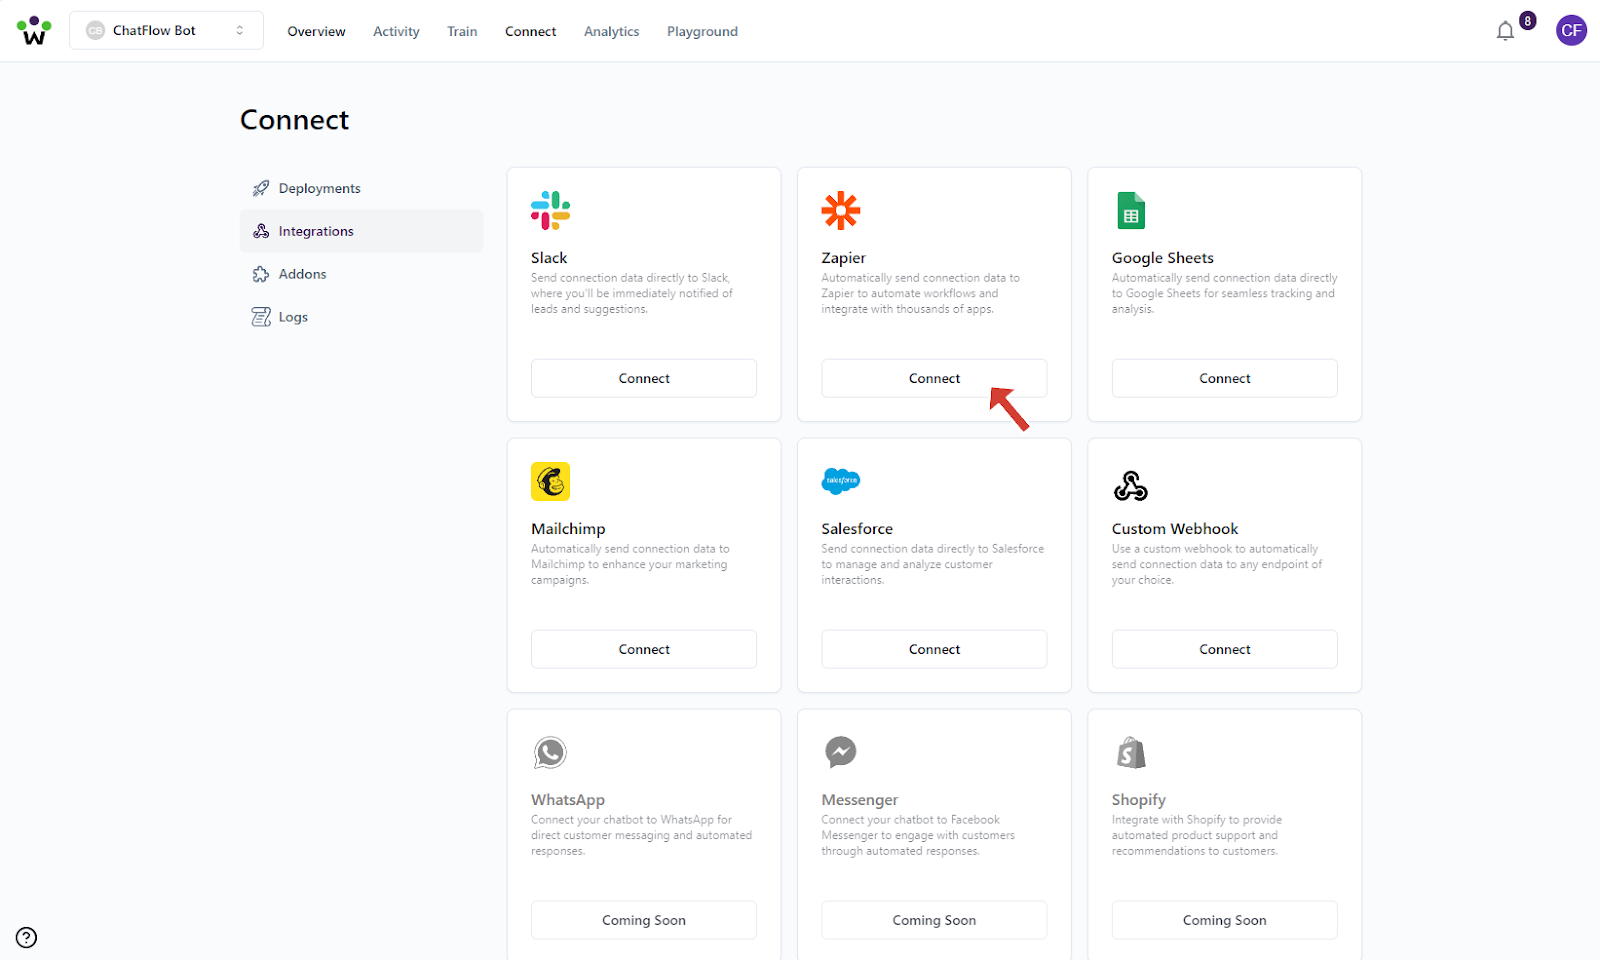
- In the integrations grid, locate the Zapier card
- Click the Connect button under the Zapier integration
- A settings dialog will appear
Step 2: Configure Webhook URL
- In Zapier:
- Create a new Zap
- Choose “Webhook by Zapier” as your trigger app
- Select “Catch Hook” as your trigger event
- Copy the provided webhook URL


Step 3: Setup in ChatFlow
- Paste the webhook URL from Zapier into the settings dialog
- Select the appropriate protocol (https:// or http://)
- Click Save to confirm

Step 4: Test the Integration
- In Zapier:
- Click “Test Trigger” to wait for sample data
- Interact with your chatbot to send test data
- Once data is received, continue setting up your Zap
- Choose your desired action apps and complete the Zap setup
Step 5: Start Using the Integration
Once configured, ChatFlow will automatically:
- Send data to your Zapier webhook
- Trigger your automated workflows
- Enable connections with thousands of apps through Zapier
Managing Your Integration
You can manage your Zapier integration at any time:
- Return to the Integrations page to check connection status
- Click the Settings icon to modify the webhook URL
- Use the Disconnect button to remove the integration
Note: You need a Zapier account to use this integration. Free Zapier accounts have limited monthly tasks, so consider your automation needs when choosing a plan.


