ChatFlow’s Mailchimp integration allows you to automatically send lead and customer data to your Mailchimp account, helping you enhance your marketing campaigns and manage your contacts efficiently.
Step 1: Setting up the integration
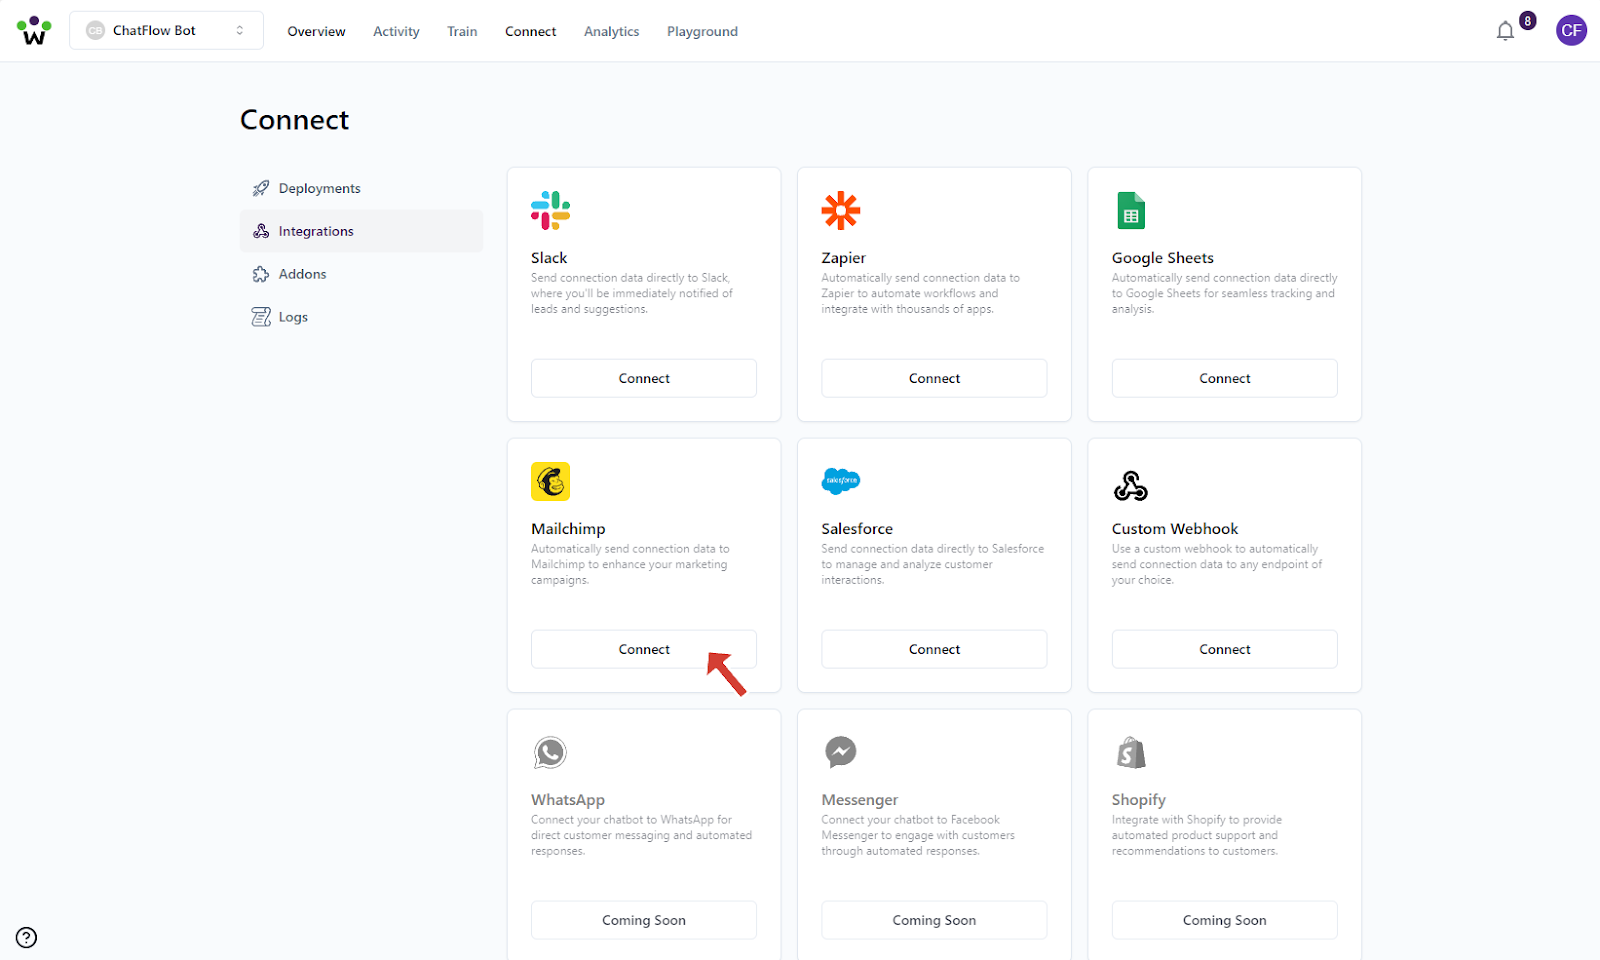
- In the integrations grid, locate the Mailchimp card
- Click the Connect button under the Mailchimp integration
- You’ll be redirected to Mailchimp’s authorization page
Step 2: Authorize ChatFlow
- Log in to your Mailchimp account if you’re not already logged in
- Review the permissions requested by ChatFlow
- Click Allow to authorize the integration
- You’ll be automatically redirected back to ChatFlow

Step 3: Start Using the Integration
Once authorized, ChatFlow will automatically:
- Send new contact information to your Mailchimp audience
- Update existing contacts when new data is available
- Sync contact details from your chatbot interactions
Managing Your Integration
You can manage your Mailchimp integration at any time:
- Return to the Integrations page to check connection status
- Use the Disconnect button to remove the integration if needed
Note: Make sure you have an active Mailchimp account and at least one audience list created before setting up the integration. The integration will automatically sync with your default audience list.


